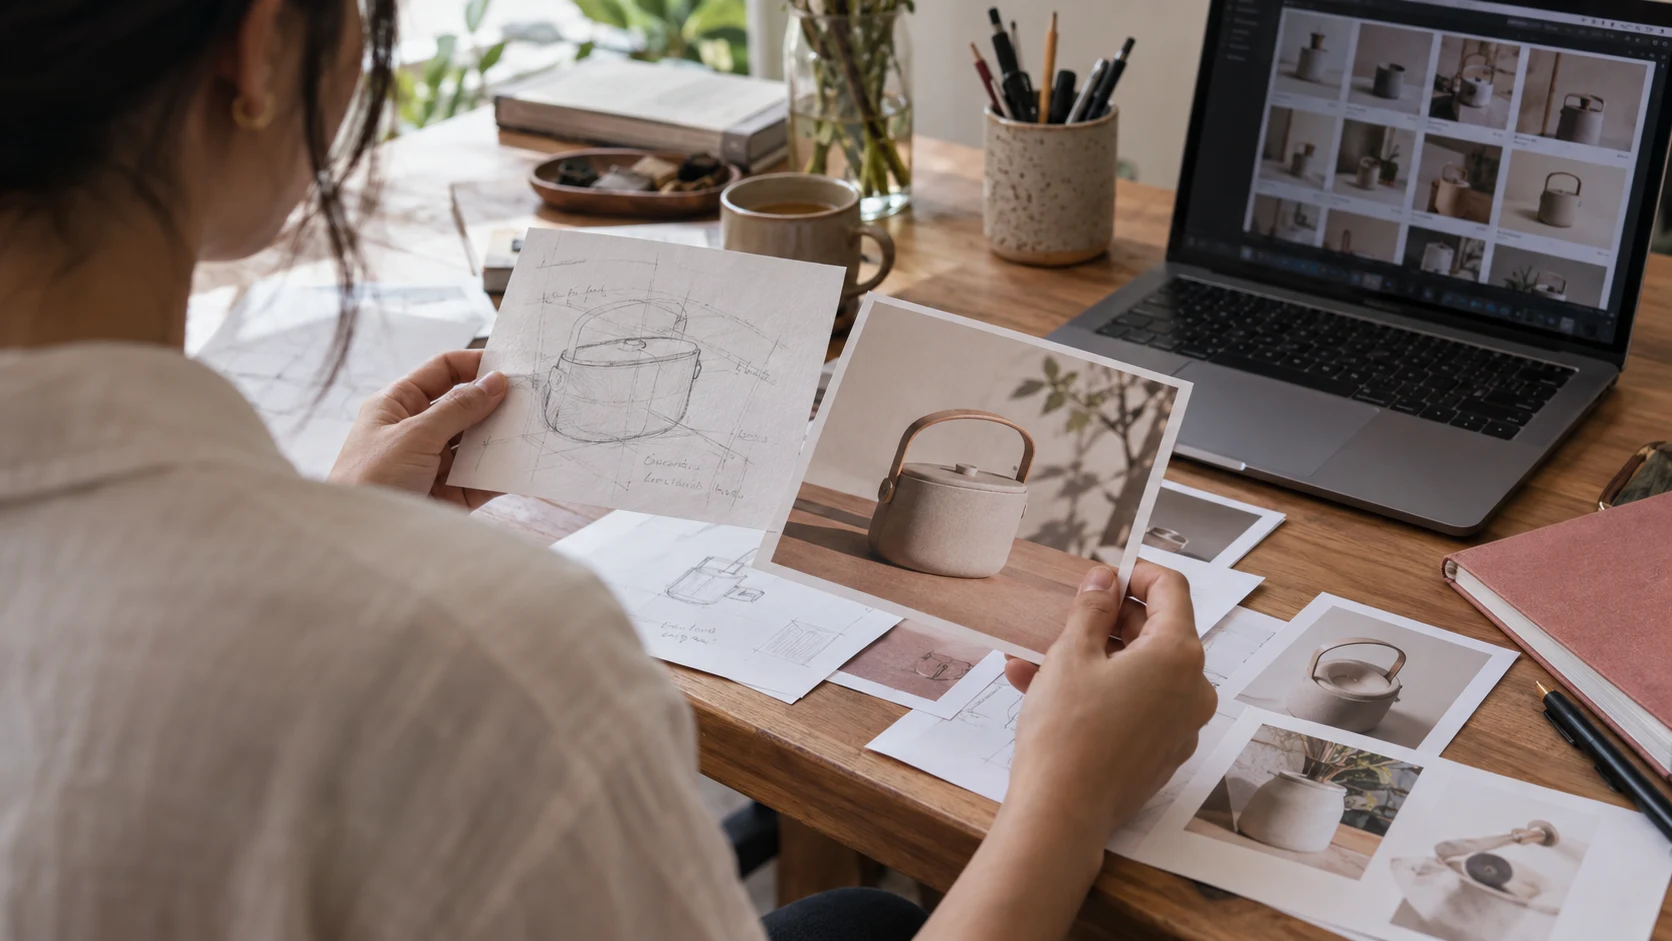
Plan a Short Video You Can Actually Finish
Turn one audience question into a clear opening, a five-shot plan, and a simple editing checklist—using the equipment you already have.

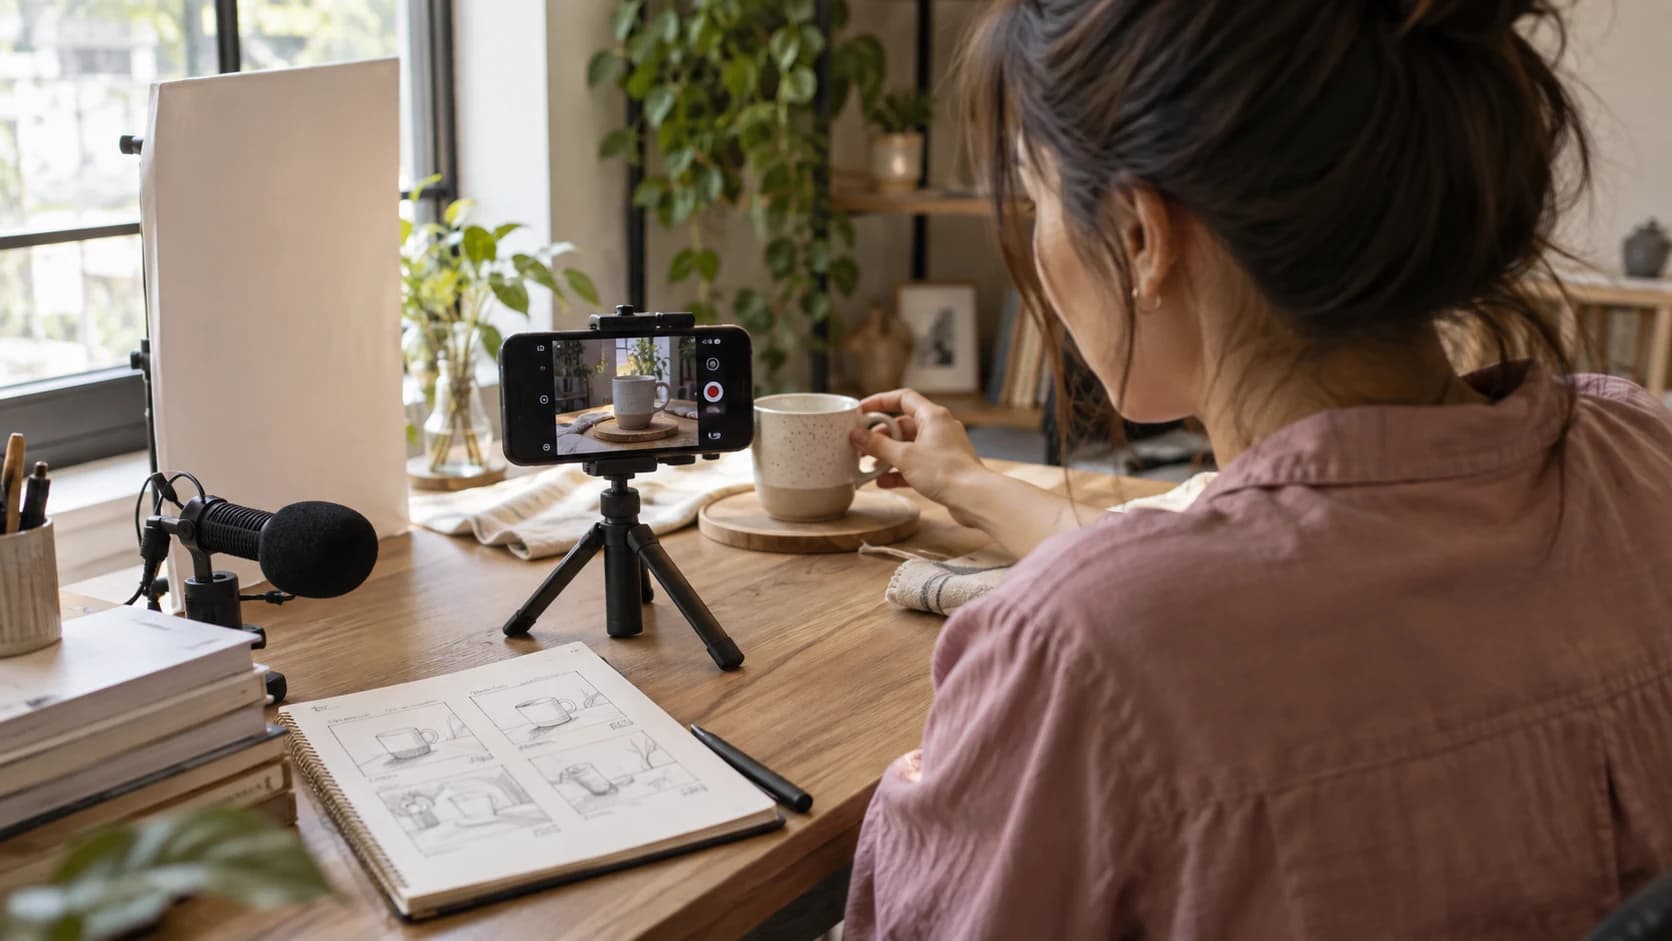
A short video becomes much easier to finish when its job is clear. Before choosing music, transitions, or equipment, decide what the viewer should understand by the end. “Show my workspace” is a subject. “Show how I prepare a small desk for filming” is a task you can plan.
The workflow below is a practical starting point, not a formula for reach. Adapt the length, pace, and framing to the story and the place where you intend to share it.
By the end of this article, you’ll be able to…
- Give the video one audience question and one useful answer.
- Plan the shots before recording and test audio before filming the full take.
- Check captions and important visual details before publishing.
1. Write one viewer question
Complete this sentence: “After watching, someone should be able to…” Keep the answer small enough to demonstrate. For example: “position a mug near a window for a clean product shot.” If you need to explain lighting, editing, pricing, and storytelling at once, choose one for this piece and keep the others for later.
Then write a plain-language answer. That sentence becomes your guide when deciding whether a shot or line belongs in the edit.
2. Open with the useful part
Show the situation or outcome that your video actually covers. For our practice example, open on the final mug composition, then explain how you set it up. An opening such as “Here is the window setup I used for this shot” makes a specific promise you can deliver.
Avoid an opening that promises a result you cannot demonstrate. You do not need to call a simple technique a secret or make claims about what an algorithm will reward.
3. Build a five-shot plan
- Outcome: show the finished composition.
- Context: show the desk, window, and space you are using.
- Action: show the adjustment that matters.
- Detail: move closer so the viewer can see what changed.
- Recap: show the result again and name the step to try.
This is a shot list, not a requirement to make exactly five cuts. Combine shots if the explanation is clearer, or add a detail when it answers a real question. Record a little extra before and after each action so you have room to edit.
4. Check the setup before the full take
Clean the lens, steady the phone, and record a short test. Listen for background noise and make sure speech is understandable. Look at the whole frame: a distracting reflection or an address on a delivery label is easier to remove before filming than during editing.
For product demonstrations, keep the conditions clear. If you compare two setups, say what changed. Show only what your footage supports, and avoid implying that a practice demonstration proves a broader product claim.
5. Edit for understanding
Put the shots in the order of the explanation. Remove repeated lines and pauses that add no meaning. Keep on-screen text readable on a phone and leave important details unobstructed.
Provide accurate captions for meaningful speech and sound. Review automatic captions for wording, names, timing, and missing information; automatic output can contain errors. The W3C caption guide explains what captions need to communicate.
A final check before you share
- Does the opening match the actual content?
- Can a viewer follow the steps without guessing?
- Are captions accurate, and is important text readable?
- Have you removed private information from the frame?
- Do you have permission to use the footage, images, and audio you included?
Watch once as a viewer, then make only the changes that improve the explanation. Save the shot list with the finished piece. On the next project, reuse the structure and change the question.
Cover: an AI-generated editorial image for Unbok. People and scenes are illustrative.